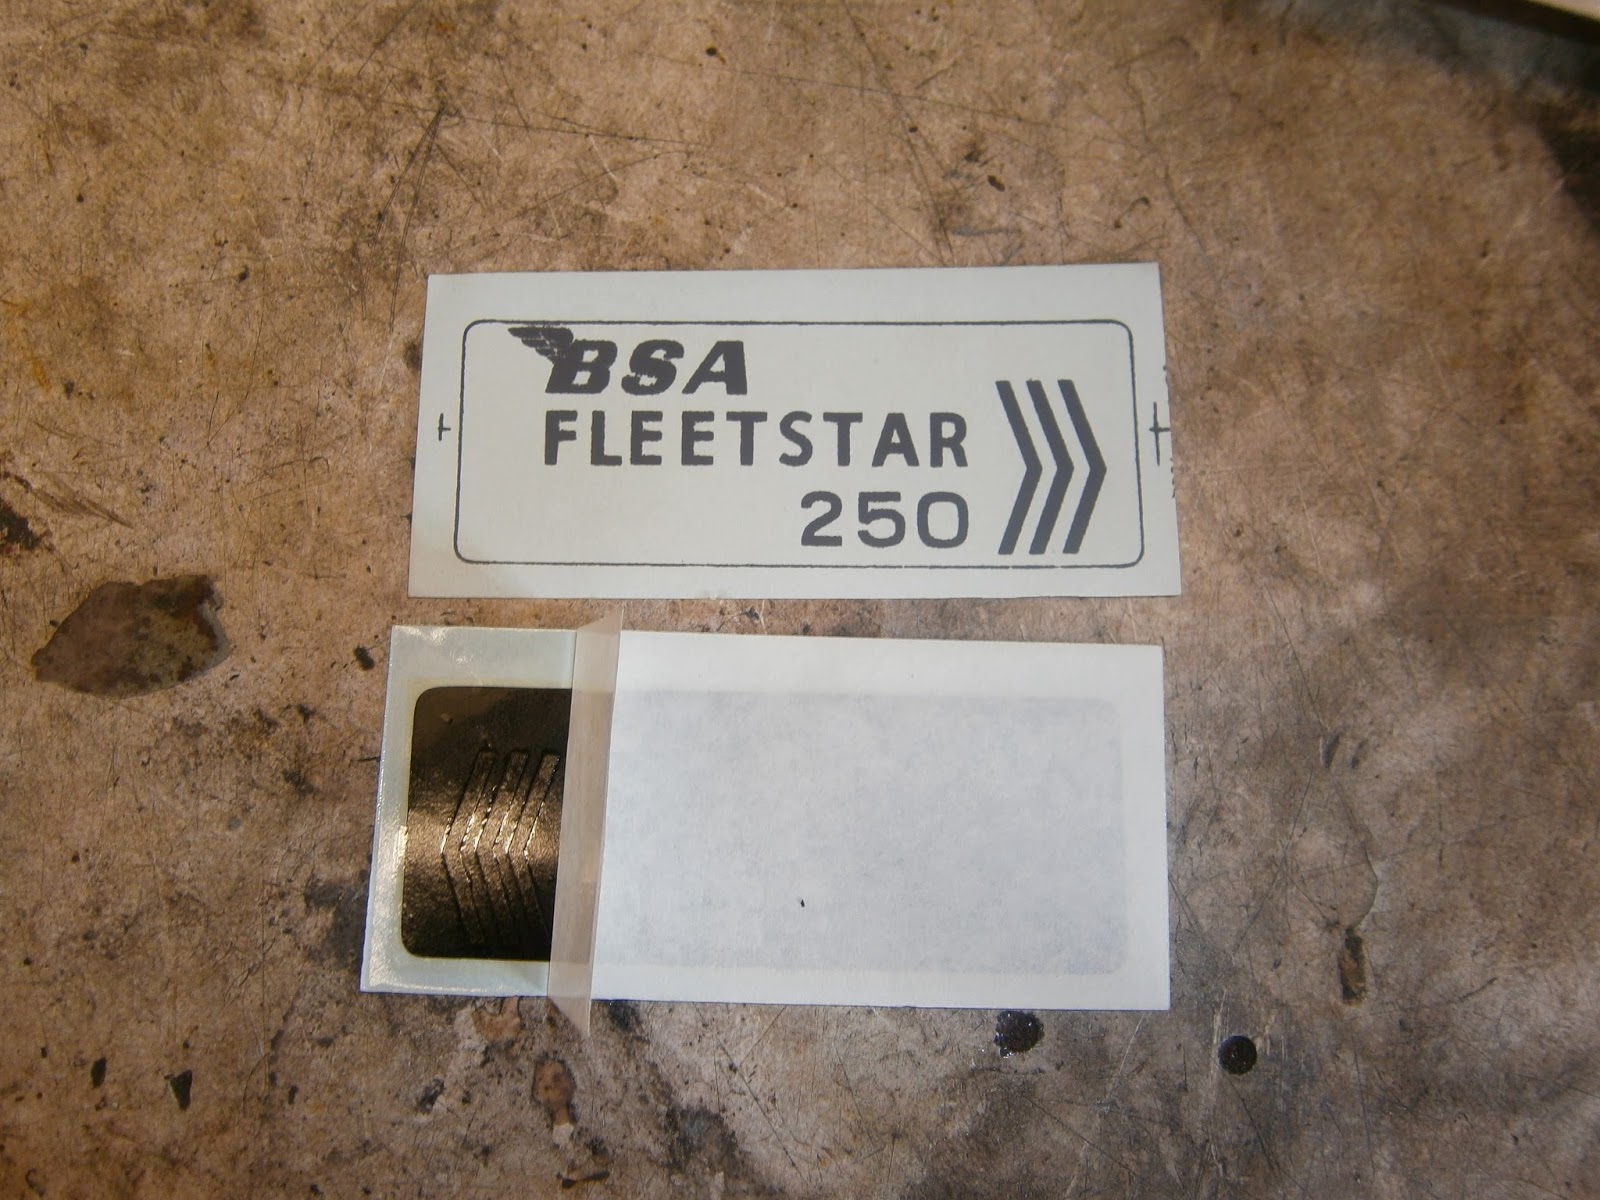
At the moment I'm trying to tidy up its appearance so I'm stripping the nasty paint off the front wheel rim (I will try to bring the chrome back and respray if I cant... hopefully I can get a better finish) and trying to apply some fresh decals to the bike and failing! I haven't managed to get a clear description of all the decals this bike should have had. Certainly it seems from photographs and brochures that the non-Police Fleetstar had a white winged BSA logo on the tank and a "Fleetstar 250" decal on the battery cover and oil tank. I suspect there would have been a couple of piled arms as well as warnings/notes as well but I haven't been able to find them described anywhere. There seems to have been a lot more on the US export bikes, but as most of these were only required for the US market I can't use them as a guide. I will keep checking but sending a query to the forum failed to proved any more enlightenment. I ordered these twotypes from eBay. The tank winged "BSA" decals were easy- peel and stick; the side panel "Fleetstar 250" were a different matter.
 |
| Tank decal- self-adhesive so a bit "blocky" Gold BSA on a transparent sticker |
 |
| Self adhesive decal- but even more blocky than above as its lettering on a black background which isnt quite the same intensity as the paint colour- clear background decals are nicer. |
NOTE to sellers of DECALS- There are (at least) three types of decal- peel and stick, water slide (a little like those RAF roundels that came with the plastic plane kits we made as kids) and varnish stick They are not the same. The former may be called a sticker, the latter two transfers, but they are all decals. Why oh WHY would anyone even think of selling them without saying what type they are??? Yet everyone does! What's the matter with you all? - Put some basic information in the bloody ads for Heaven's sake!
The peel-off ones are easiest to use- but look worst! They are simple to recognise, removing the backing paper reveals a self-adhesive surface on the back of the design.
 |
| Self-adhesive (vinyl cut) decal. As it comes (upper) and partly peeled off (lower). Note sticky surface on the back of the decal |
 |
| Varnish-applied type- note the front and back mounting paper (above- as it comes) and below with part of the backing paper removed (front paper now down). |
Water slide decals- no picture sadly- Also have two backing papers, and when you remove the first you also find a non-adhesive surface - but in this case the the decal is uppermost- ie the right way up. It is usually still attached to a glossy backing paper on which it can slide when wet so it can be eased off the backing paper and onto a wetted paint surface..
... 24 hrs later, calmed down! Classic bikes of Cheshire did respond to my missive and offered an odd fixing process... I don't think they realised that the decals they sold are for varnish fixing. They offered a replacement but I had already sourced a cut vinyl self-adhesive replacement which is self adhesive and thus much easier- although not of course original at all. I fitted both decals but the side panel was looking a bit ropey so I resprayed that using black gloss Aldi metal protection paint first- covers really well and goes straight on over metal. Takes a couple of days to harden fully but very pleased with this- much better than Hammerite which I always preferred, but recently it seems to have an unacceptably low pigment content and takes ages to cover.
I also replaced the tank rack screws and fibre washers beneath each leg. I used smaller washers so that they didnt show beneath the legs. Lining up the screw heads gives a nice neat appearance.

No comments:
Post a Comment
Usual disclaimers! I' m not a mechanic and these blogs are really just documenting my progress. They are neither a recommendation nor an instruction manual. Just my notes for what I did and how Id do it next time. Im always happy to receive suggestions and corrections to any of the processes described here- hey its a learning process for me too! Feel free to contribute...